Installing the Synchronizer
Installing the plugin to MS Outlook is started by clicking on the setup file
“ACMARK_plugin_v + číslo_verze.exe”. ←
Instalation procedure
Start the installation by clicking on the installer file plugin
(for example ACMARK_plugin_v+číslo_verze.exe).
In an environment of Windows the following components must be installed before installing:
- Microsoft. Net Framework 4 or higher (http://www.microsoft.com/en-us/download/confirmation.aspx?id=17718)
- Microsoft Visual Studio 2010 Tools for Office Runtime (vstor.exe) (http://www.microsoft.com/en-us/download/details.aspx?id=48217)
Note: the required components are downloaded from the Internet during the installation of the plugin. They are listed here only for the case if this process had failed.
The installation procedure is as follows:
1. Select installation language
After confirming that the synchronizer want to install a window appears to select the installation language.
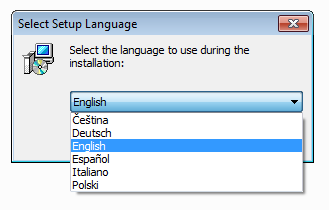
The selected language will also be defaulted in ACMARK plugin in Outlook. By default, there is pre-filled English, other way the user selects himself.
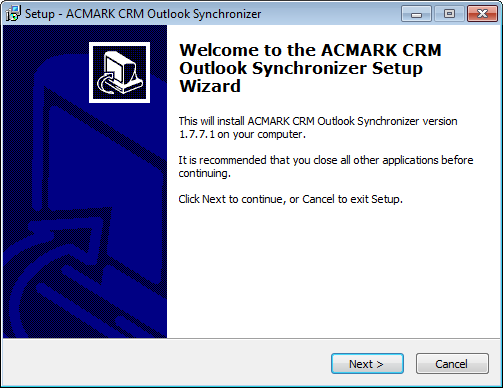
2. The introductory screen installation
Only confirm by clicking on the Next button and the installation continues.
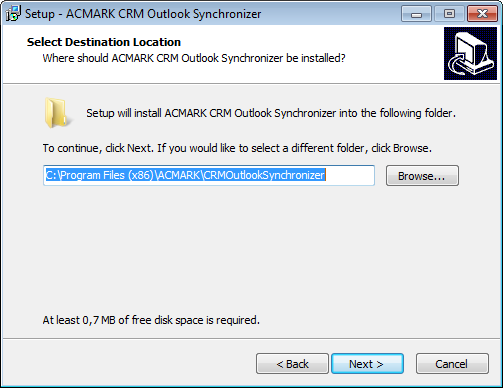
3. Select a folder where you want to install the plugin
Select the folder where you want to install the synchronizer.
We recommend setting the standard!
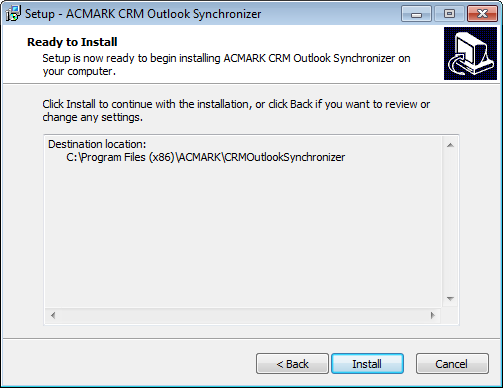
4. Summary before installing the plugin
In the subsequent dialogue, we are informed, where we gonna install the plugin, we have the last chance to change the settings or confirm them and perform the installation.
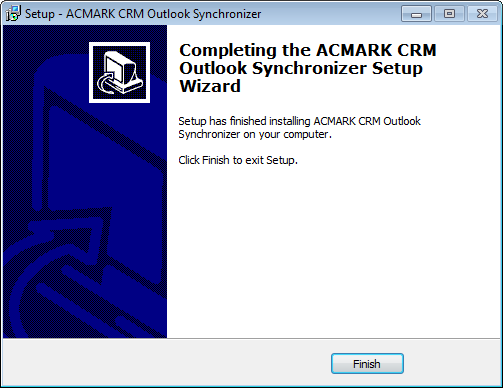
5. Completing the installation
After completing the installation, we are informed of this in the dialogue below and click on the Finish button so we can proceed to the Synchronizer settings, see Settings.
Properly installed plugin appears in Microsoft Outlook.